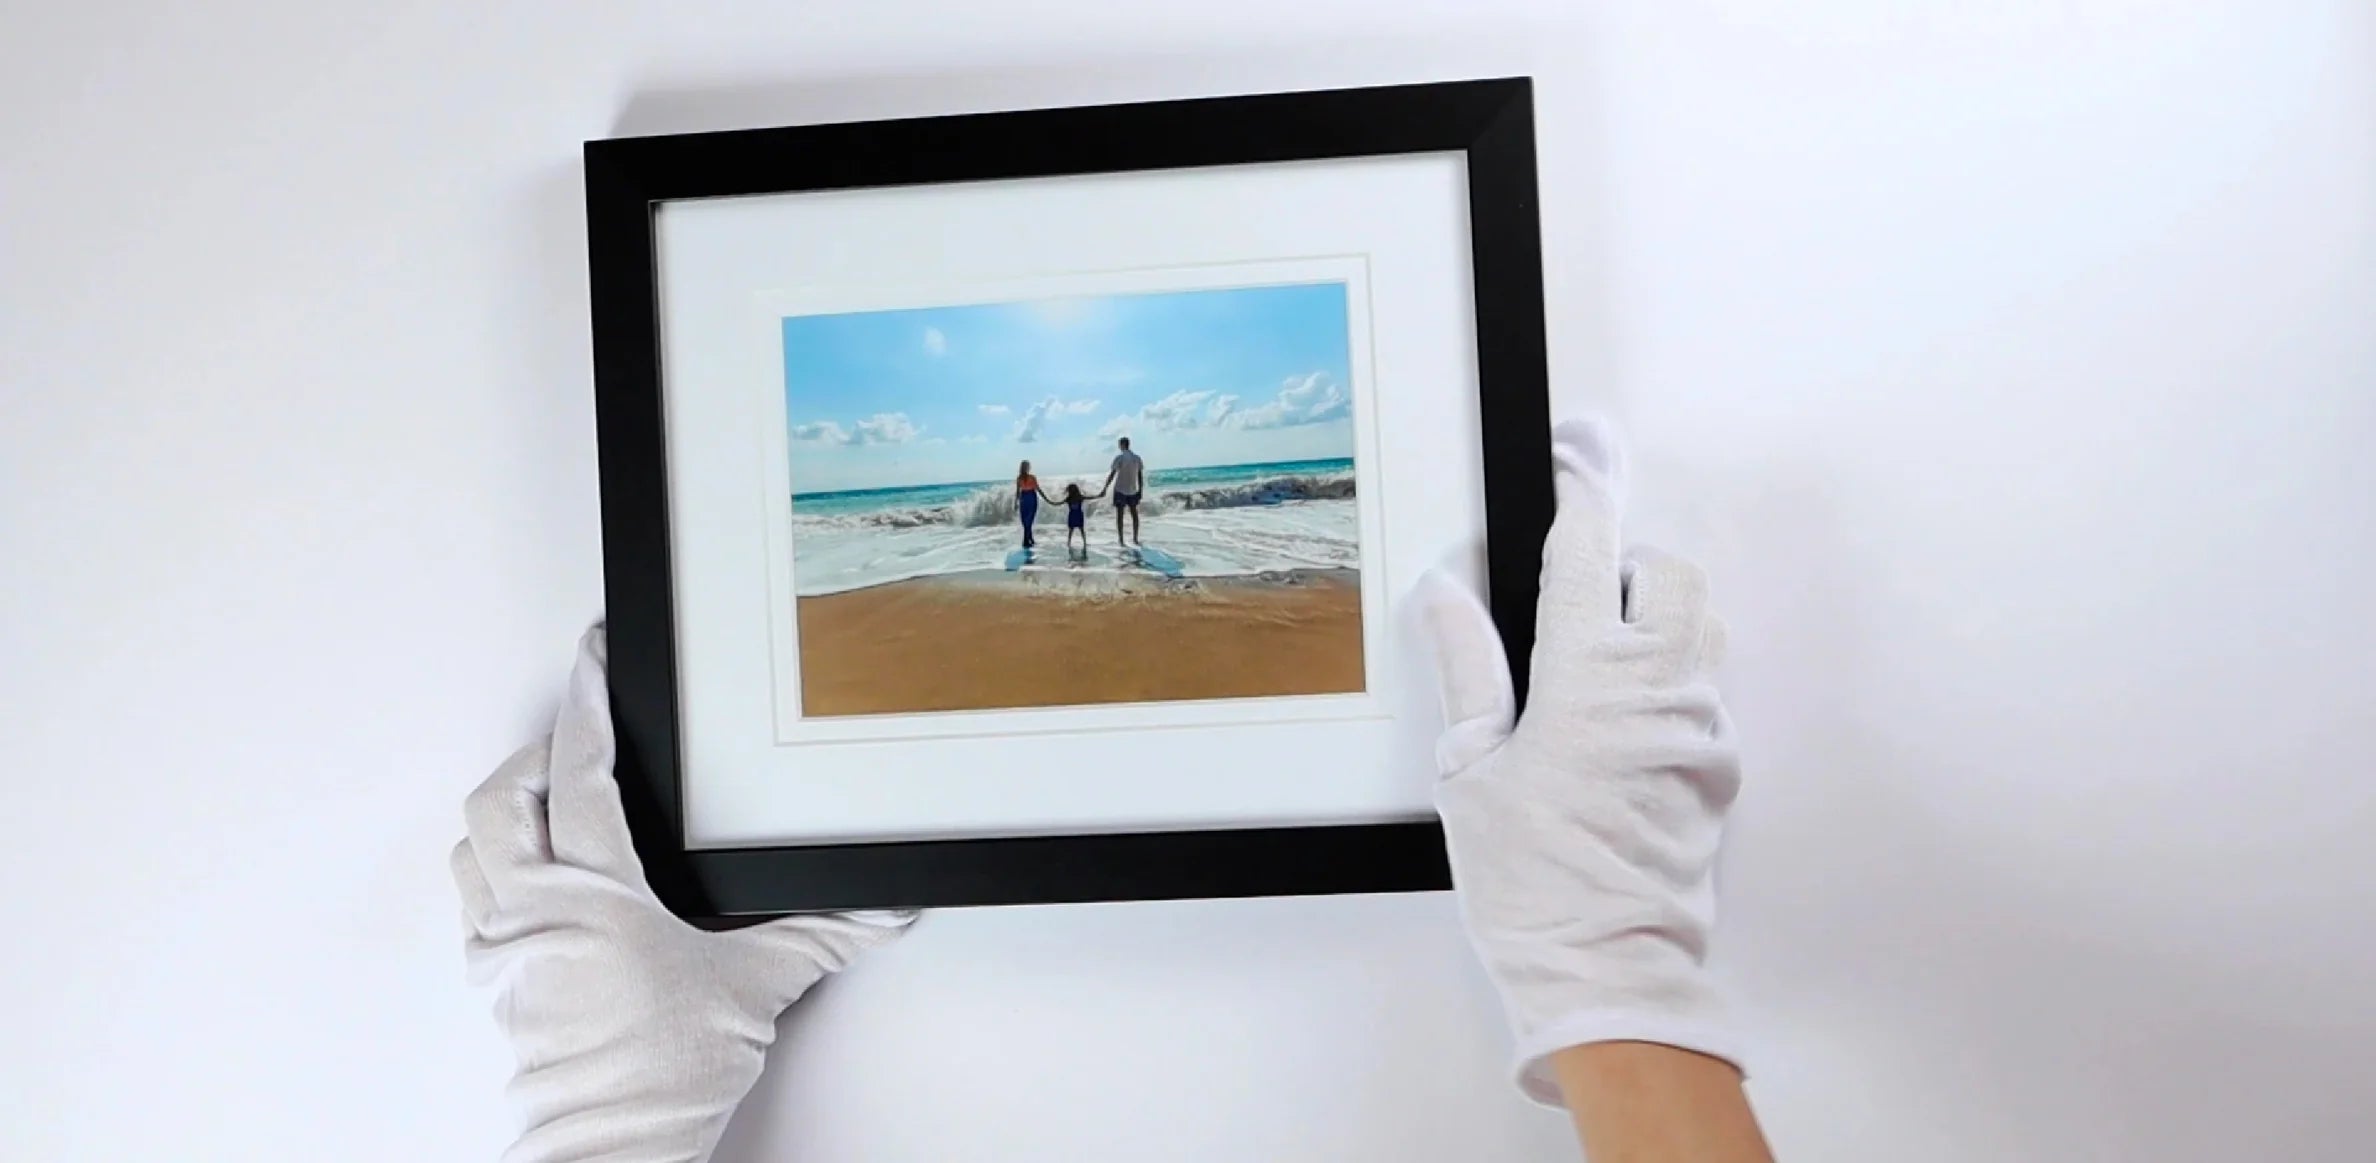
If we were to pre-attach any wire or string to you frame in both portrait and landscape orientation, then you would not be able to remove the backing board from the photo frame to allow you to insert your photos, certificates, documents, drawings, artworks, etc. So this is just a simple DIY aspect of inserting your artwork into your picture frame.
We have created both a step-by-step guide and also a demonstration video to help you below.
Steps for Attaching Wire to the Back of Your Picture Frame
You can either refer to the helpful video link below, or continue below to read through our visual step-by-step guide.
Getting Started:
When you open the seal of the hanging pack, you will find the following components inside:
- Instructions
- A coil of wire string
- 2 screws
- 2 hinged D-Ring hangers
Items you'll require:

- Ruler or Tape-measure
- Pencil
- Cross-Head, X-Shaped Screwdriver (Phillips Head)
- Scissors
- Your picture frame
Step 1: Measure 1/3 of the Way Down the Picture Frame

Place the photo frame glass side down on a smooth flat surface. Using your ruler or tape measure, measure the total length of the photo frame.
Calculate 1/3 of this distance, and using your ruler and pencil, make a line on the back of the photo frame 1/3 of the way from the top edge of the photo frame.
Step 2: Repeat Step One on the Other Side of the Photo Frame

Repeat Step 1 above, but this time using your ruler and pencil mark the other side of the photo frame.
As a double check, measure the distance from the top of the photo frame to your pencil marking on both sides to make sure they are exactly the same. This will ensure your picture frame will hang perfectly level.
Step 3: Attach the First Hinged D-Ring Hanger

Using your Cross-Head, X-Shaped Screwdriver, take the first hinged hanger, and place it on top of your first pencil marking. Ensure the triangle is facing inwards. Take the first screw, and using the screwdriver, screw the hinged hanger into the back of the photo frame. You may need to push down (using the screwdriver) quite hard initially until the screw penetrates the timber.
When you have finished securing the first hinge hanger with the screw, it should appear as per the image below:

Step 4: Secure the Opposite Hinged D-Ring Hanger

Take the second hinged hanger and screw, place it over the second pencil marking, and using the screwdriver, secure the second hanger. Ensure the triangle is facing inwards. As per Step 3 above, you may need to push your screwdriver down quite hard initially to ensure the screw penetrates the wood of the picture frame.
Step 5: Attach the Wire to the First Hinged Hanger

Unwind the wire, and loop the wire through the first triangle hinged hanger and secure it by making a double knot.
Step 6: Trim any Excess Wire

Any excess wire from tying the knot can be twisted tightly around itself several times, and then any extra can be be cut and trimmed.
Step 7: Pull the Wire Through the Second Triangle Hinged Hanger and Secure with a Double Knot

Take the unsecured end of wire, and pull this through the triangle hinged hanger.
Tighten up the wire by pulling the wire and taking up any loose slack. Before tying a double knot, allow the wire to loosen slightly, as shown in the photo below. Then secure the wire with a double knot.
Step 8: Neaten any Loose Wire

Any remaining loose wire should be twisted back over itself. Use the scissors to trim any remaining wire
Step 9: Check Wire Has a Small Arc to it

In the centre of the wire, pull this up and ensure your knots are tight and the hinges do not move. The wire should form a small arc (slack), as per the photo above. If not, loosen the double knot at one end, and refer to steps above to correct it.
Step 10: Check the Screws are Secure
Lastly, use your screwdriver to check the screws one last time and tighten if required. Please ensure the hinges are parallel to each other.
We also suggest placing two small pieces of blue-tack or felt stickers in the bottom left and bottom right corners of the backside of the photo frame, so that once you hang your photo frame onto the wall, it should sit straight with the assistance of a sprit level.
Your picture frame is now ready to hang and display your precious memories and artwork.
Getting the Hang of Things!
Now that you've mastered the steps for attaching your hanging wire, the final part of your journey will be hanging your frame on your wall. We've created a couple more helpful guides and videos to assist you with this step, which you can find in the links below -
We hope this information was helpful. If you have any questions or feedback, please feel from to contact us.
Shop New Zealand's Largest Range of Photo Frames Online with Profile Au
Explore the complete range of Picture & Photo Frames from Profile Australia. Whether you're looking for black frames, timber frames, natural oak frames, metal frames or even specialty frames like shadow-box frames and panoramic frames, we offer a full range of picture framing solutions in all types of shapes, styles and sizes.
All proudly made in Australia with eco-sustainable timbers and a lifetime guarantee!
This article was written by Jared Davis - www.jareddavis.com.au
Jared Davis is one of only a few qualified Master Certified Picture Framers in Australia with over 30 years of custom framing experience.
Jared is published author, writer and an industry-recognized educator who teaches classes and workshops to professional picture framers all around the world.


